Image Manager
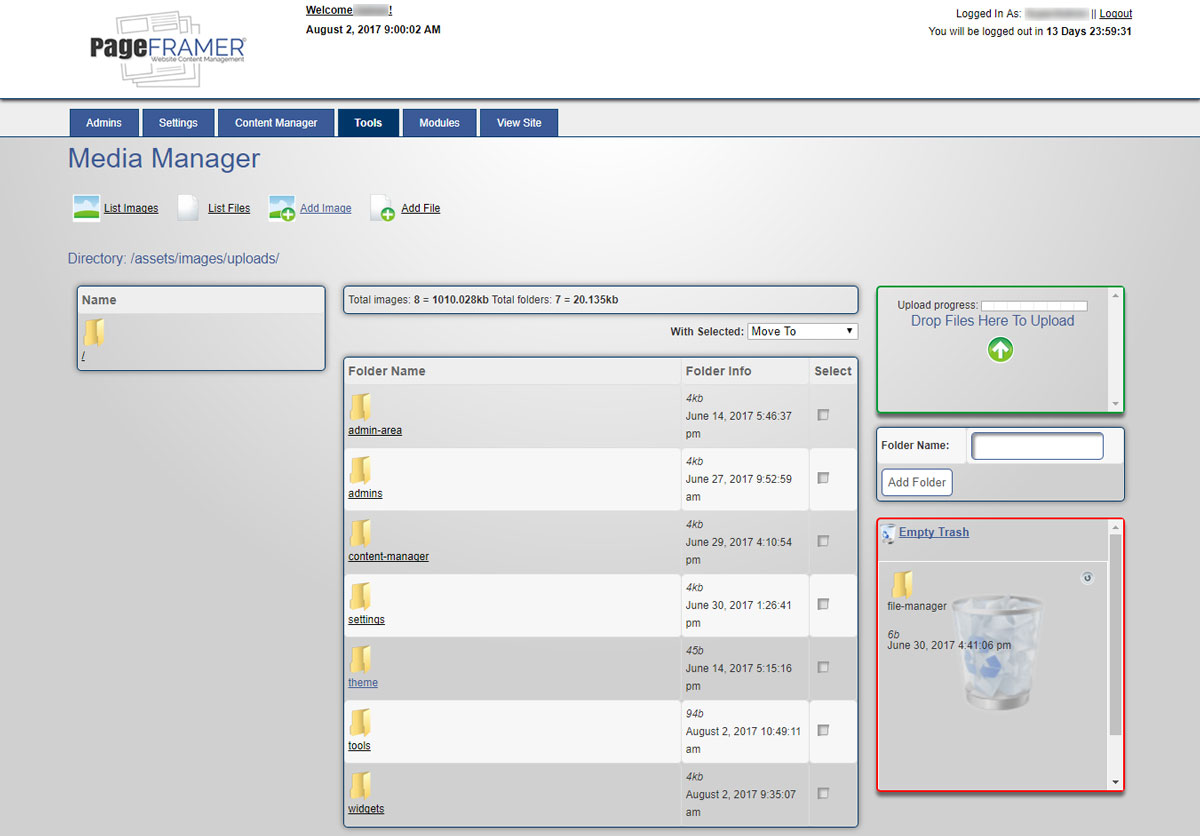
Adding images is similar to adding files. You should consider adding a folder first if you plan to add two or more photos of a particular category to help keep your images organized and easy to find (see Figure 1).

Figure 1
Adding an Image
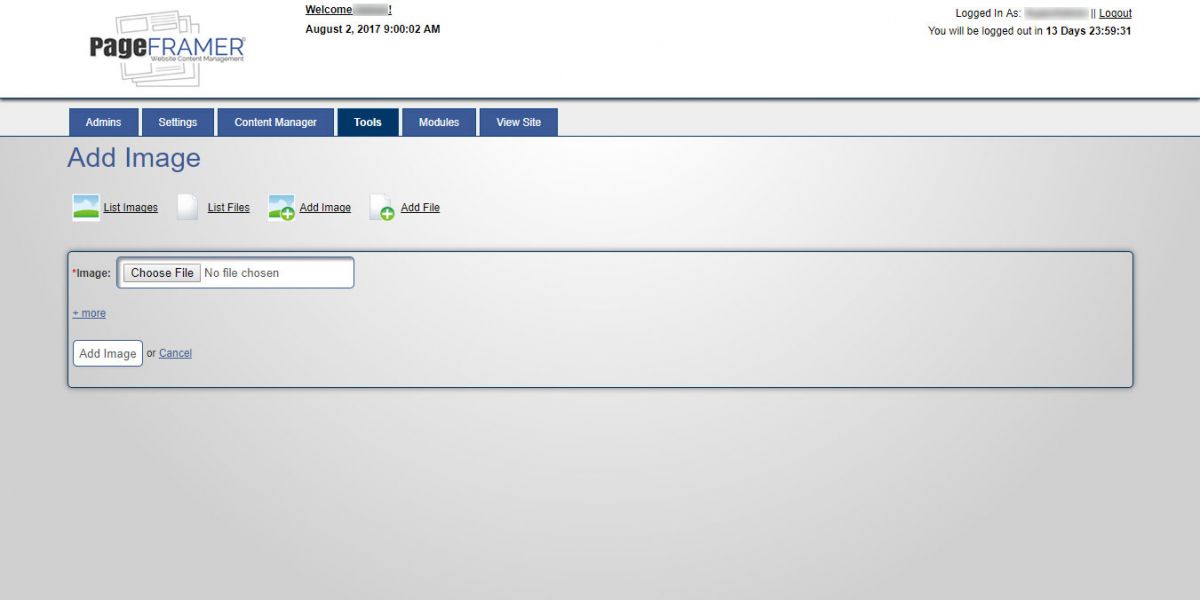
To add an image, select the “Add Image” icon and/or text or choose the folder where they would like to add one or more image files, and then select the “Add Image” icon and/or text as seen in Figure 2.
 Figure 2
Note: Images should only be added to the Image Manager and not the File Manager.

Figure 3
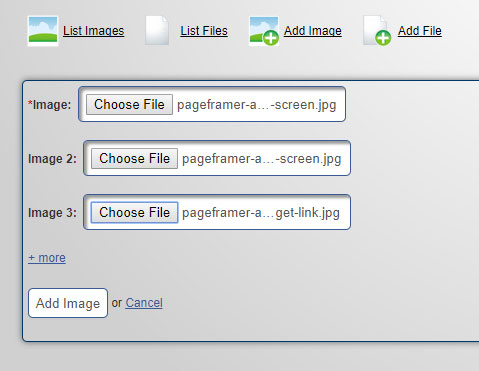
When adding an image, you will be directed to the “Add File” page or “Add File >[Folder name] page (see Figure 3):
Select the “Choose File” button to locate the image on your local machine. You may choose to add additional images by selecting the “+ more” text under the first image entry.
Once you have selected your images, select the “Add Image” button or choose to cancel the upload by selecting the “Cancel” text. Once you have added or cancelled adding the image(s), you will be returned to the Image Manager page.
It is also possible for you to simply drag images into the "Drop Files Here to Upload" area as seen in Figure 1.
Deleting an Image
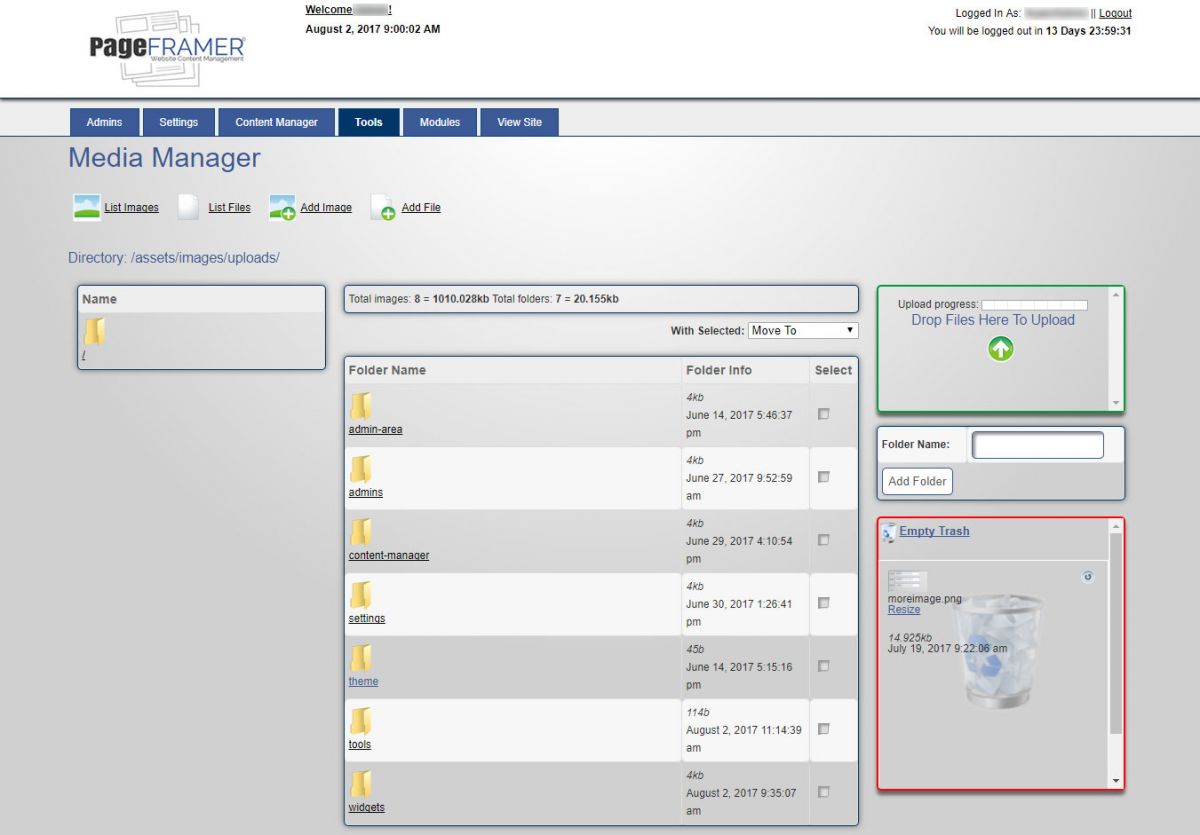
To delete an image, you can either drag the file from the list directly into the trash box outlined in red, as seen in Figure 4.

Figure 4
Alternatively, you can also select the "Select" checkbox to the right of the file and choose "Trash" from the "With Selected" drop-down menu.
Moving an Image
To move an image from one directory to another, select the "Select" checkbox next to the image you wish to move, then select the directory you wish to move it to using the "With Selected" drop-down menu.
