News Module
The News module is the area of the website where you can add updated information about the website and/or business. This is often where a website's blog will be hosted. When you select the News tab under Modules, you will be directed to the "News Category" screen (see Figure 1).
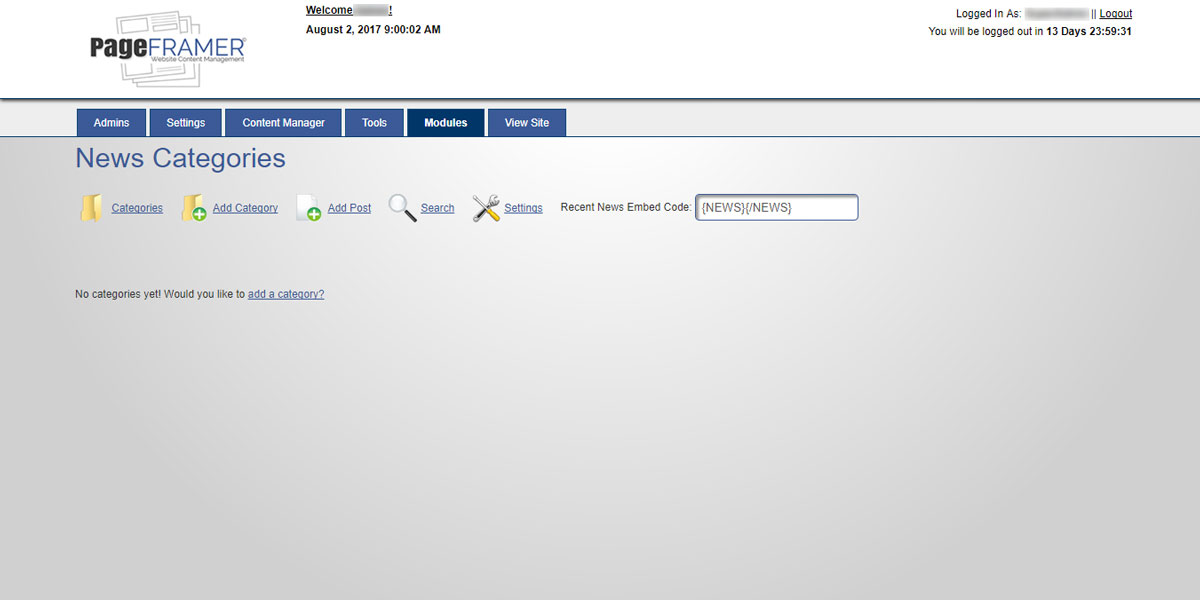
Figure 1
Add Category
Once you have selected the "Add Category" icon or text link, you will be directed to the "Add Category" screen (see Figure 2). You must add a "Category Name" for the category. The "URL" field will be automatically created once you begin typing the Category Name.
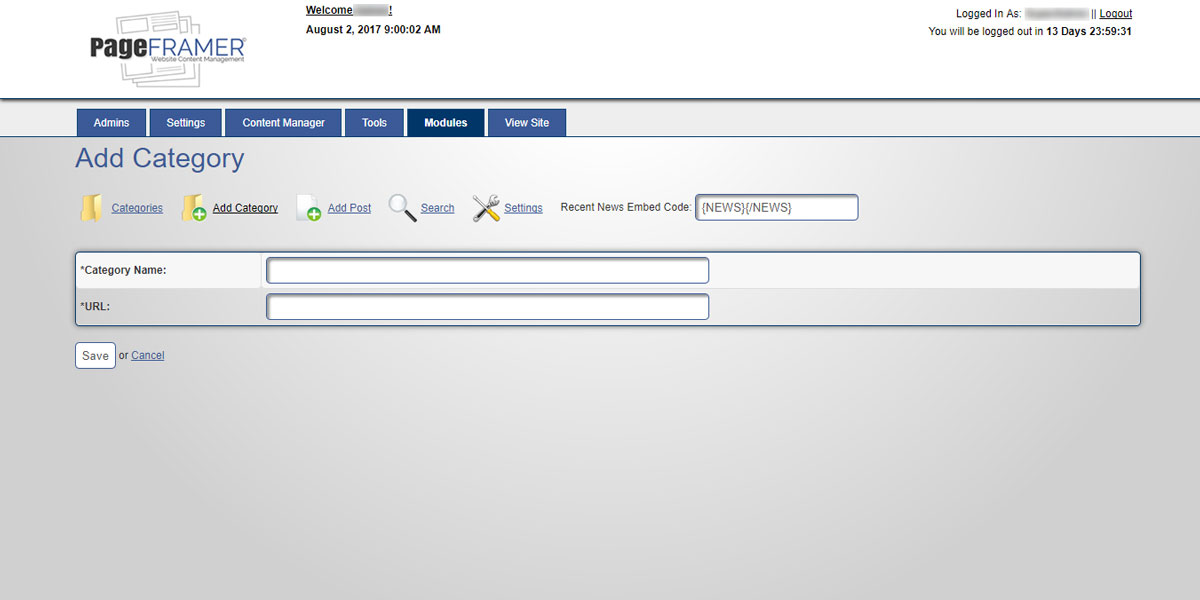
Figure 2
All of the fields that have a red asterisk ( * ) are required and must be completed or you will see an error screen reminding you to complete the required field once you try to save the Category.
Once you have created a News Category by entering all of the required data, you can select the "Submit" button to save the News Category or select the "cancel" text link to cancel the submission.
Deleting a Category
To delete a News Category, simply select the "Delete" icon to the right of the Category to be deleted on the "News Categories" screen (see Figure 3):
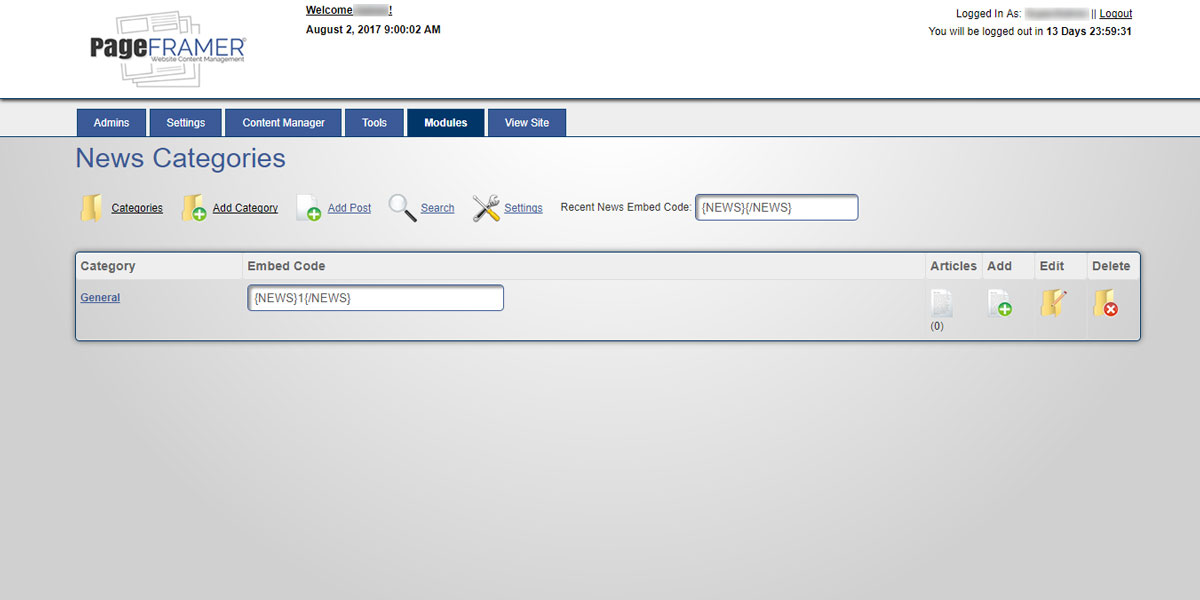
Figure 3
Once the "Delete" icon has been selected, you will be taken to a "Delete Category" confirmation screen (see Figure 4):
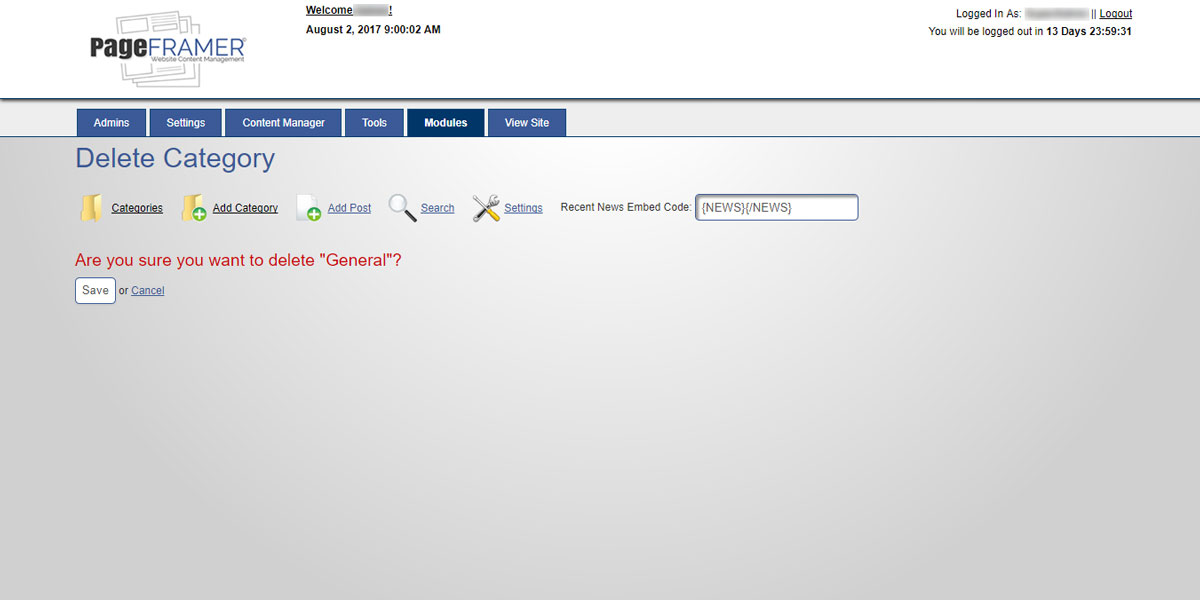
Figure 4
Once you have elected to delete the News Category, you can choose the "Submit" button to delete the category or select the "cancel" text link to cancel the submission. You will then see a confirmation screen indicating the News Category has been deleted.
Add Post
Adding a News Post to a Category can be done by one of two methods. You can select the "Add Post" icon and/or text link at the top of the "News Categories" screen or you can select the "Add" icon to the right of the Category you wish to add the post to (see Figure 5).
 Figure 5
Once you select a method to add a post, you will be directed to an "Add Post" page (see Figure 6).
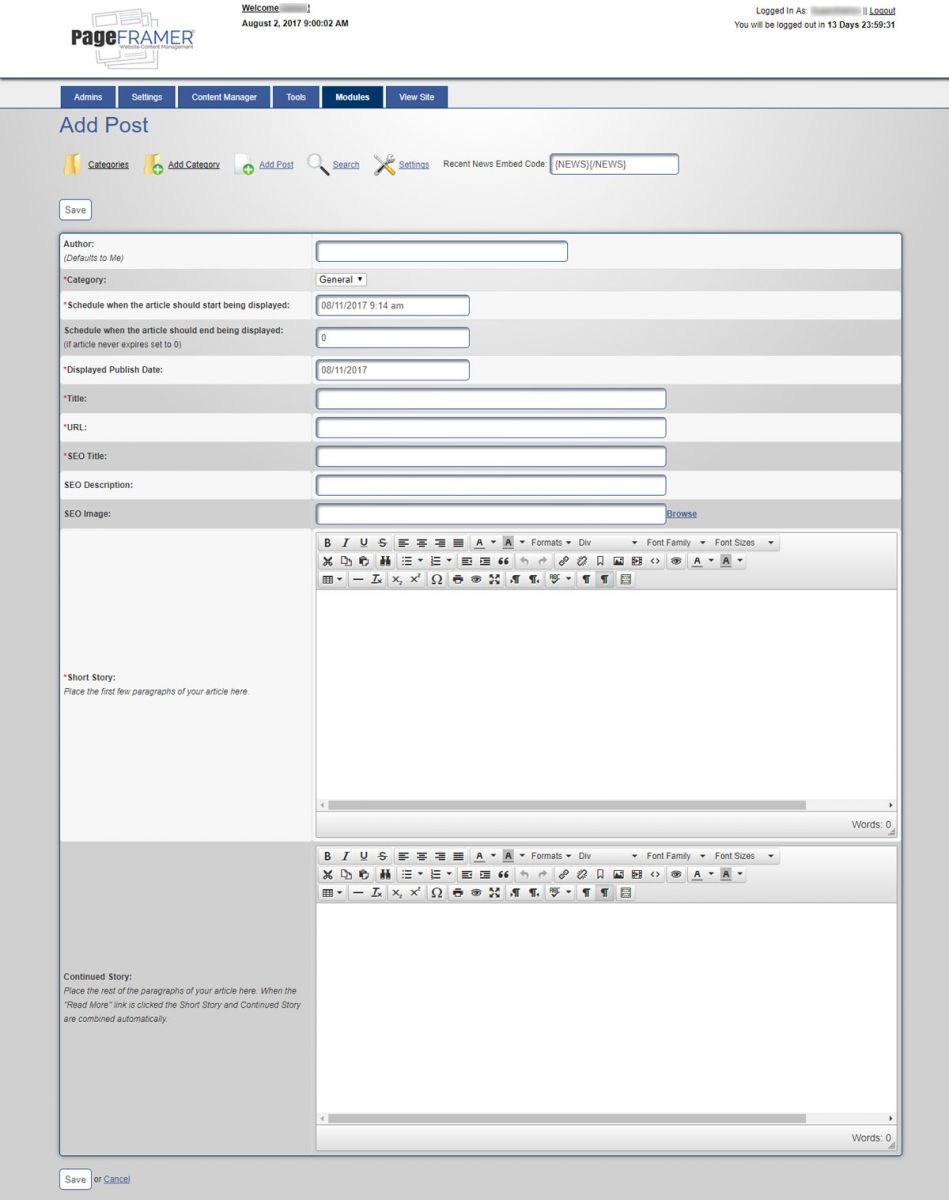
Figure 6
All of the fields that have a red asterisk ( * ) are required and must be completed or you will see an error screen reminding you to complete the required field once you try to save the Post.
Author
Every post should have an "Author" (see Figure 7). A default author name can be set within the "Settings" area (see below) of the News Module. The default author is "Me." If this has not already been changed, you may wish to change it in the News Module "Settings".

Figure 7
Category
Every News Post must have a "Category" that it is assigned to (see see Figure 8). If you already selected to add a post via the Category, the Category field will default to the category selected. If there are no categories available, you must first add a Category for the News Post to be assigned to.

Figure 8
Schedule when the article should start being displayed:
If your website uses PageFramer 4.4.3 or later you have the ability to schedule when you would like the article to be posted. Every news post must have a scheduled date (see Figure 9). When you move your cursor into the scheduled date field a pop-over calandar will appear. You can choose the scheduled date as well as the hour and minute the article will be posted to the site.
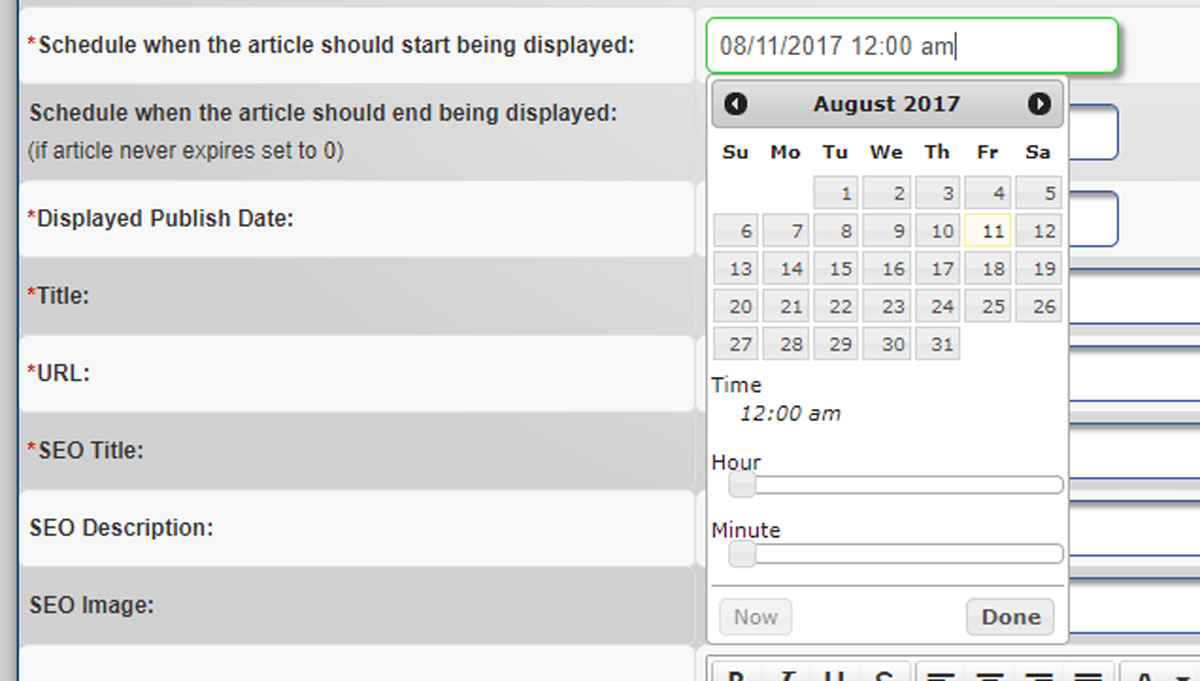
Figure 9
Schedule when the article should end being displayed:
If your website uses PageFramer 4.4.3 or later, you have the ability to end a scheduled post (see Figure 10). When you move your cursor into the scheduled date field, a pop-over calendar will appear. You can choose the scheduled date as well as the hour and minute the article will be posted to the site.
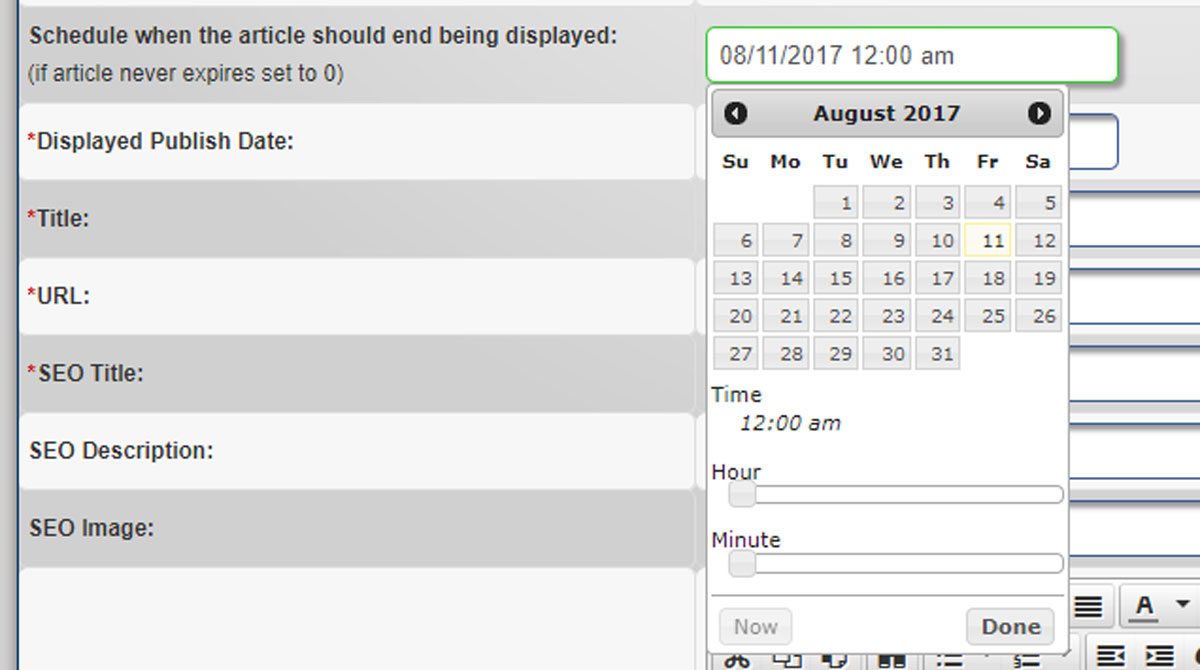
Figure 10
Displayed Publish Date:
The "Displayed Publish Date" (see Figure 11) is the date you wanted displayed as when the news post was published. You can choose a different date then the actual publish date if you wish. When you move your cursor into the scheduled date field, a pop-over calendar will appear. You can choose the scheduled date as well as the hour and minute the article will be posted to the site.
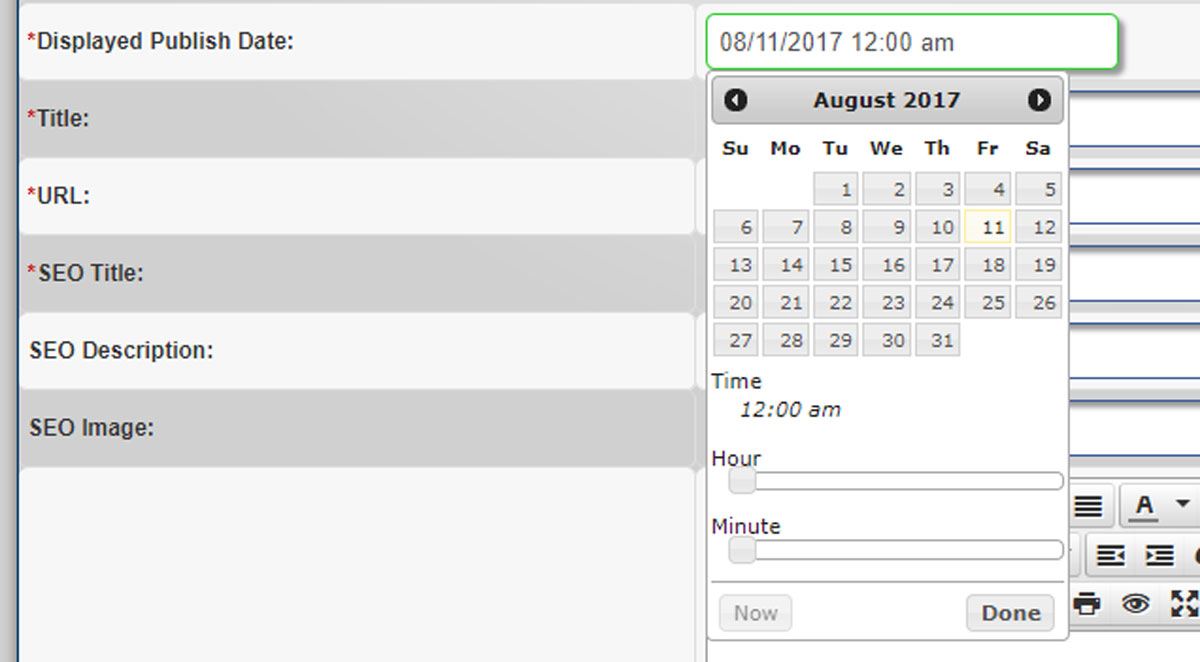
Figure 11
Title
Every news post must have a unique "Title" (see Figure 12). The "Title" as well as the "URL" for the event will automatically be generated when you add the title.

Figure 12
URL
The "URL" (see Figure 13) is automatically generated when the title is created. You can modify the URL once it has been automatically generated. However, if you modify the title, the "Title" as well as the "URL" will regenerate as well.

Figure 13
SEO Title
The "SEO Title" field (see Figure 14) is auto-completed as you enter the "Title". However, you may choose to modify either of these field if needed. It is important to note that if you change the "Title" at any point, you will also modify the "URL" and "SEO Title" fields as well.

Figure 14
SEO Description
The "SEO Description" (see Figure 15) is important to the news post. This SEO Description will appear as the description of the page created by the news post. The SEO Description should reiterate the "SEO Title". It should also not exceed 153 characters in length for SEO (Search Engine Optomization) purposes.

Figure 15
SEO Image
The "SEO Image" (see Figure 16) is an image you want to assign to a news post that will appear as the image used when posting the article on social media. You want to use a photo roughly 800 pixels wide by roughly 600 pixels high. You can browse for the image you wish to use on your local computer. While this field is not required, best practices call for adding a photo to help promote the news post if you intend to share it on any social media platform.

Figure 16
Short Story
The "Short Story" (see Figure 17) is what is typically known as an "excerpt" or preview. This section should include a summary of the news post. Typically, you do not add photos to the "Short Story" section, unless otherwise directed. This is due to photos changing how the short story appears in a news list. We strongly recommend not adding photos inside of the "Short Story"; however, you may add photos into the "Continued Story" in order to add visual interest to the news post.
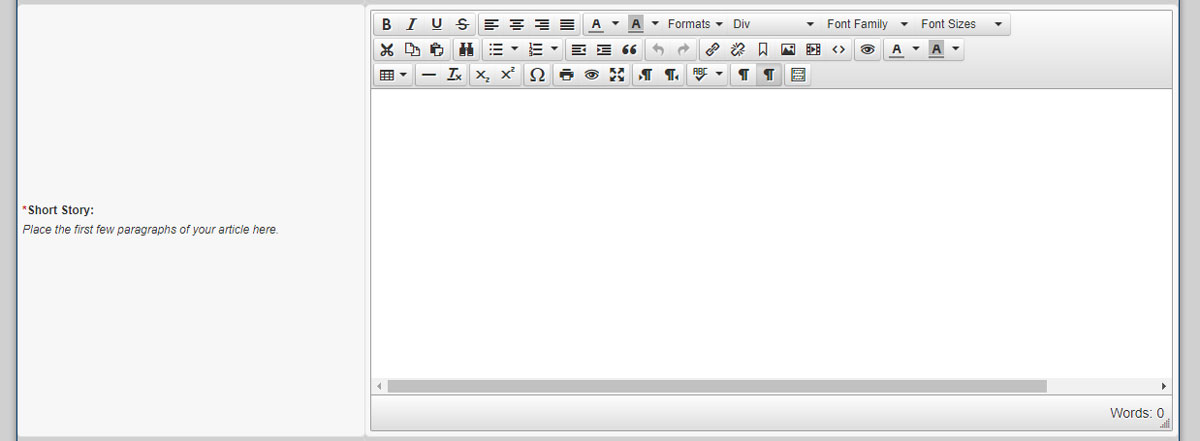
Figure 17
Continued Story
The "Continued Story" (see Figure 18) contains the rest of the information not included in the "Short Story". This is where we recommend adding photos to your news post. The "Short Story" and "Continued Story" will appear in the news post as a single article.
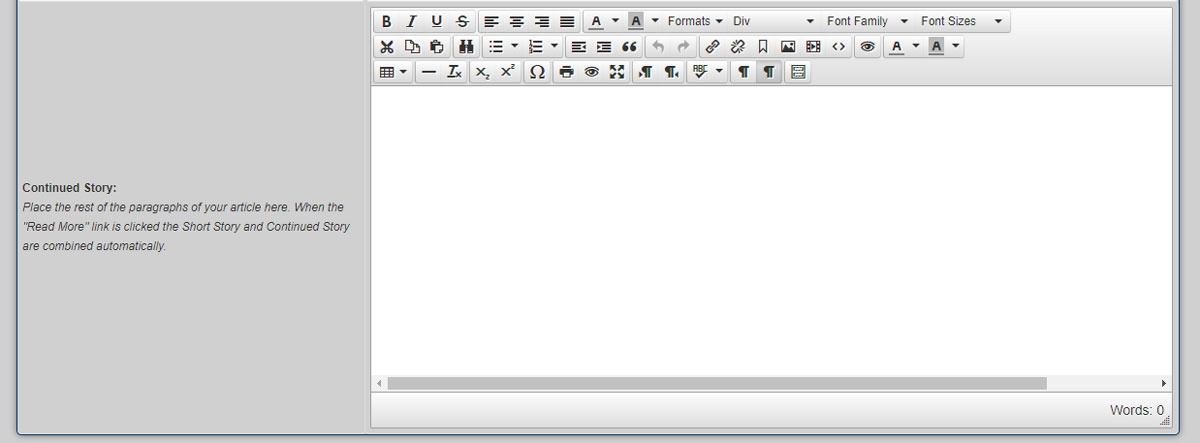
Figure 18
Once you have created an album by entering all of the required data, you can select the "Submit" button to save the album or select the "Cancel" text link to cancel the submission.
Edit Post
Editing a news post is similar to "Add Post", except when you choose to edit a News Post by selecting the "Edit" icon to the right of the post, you will be directed to an "Edit post" screen (see Figure 19):
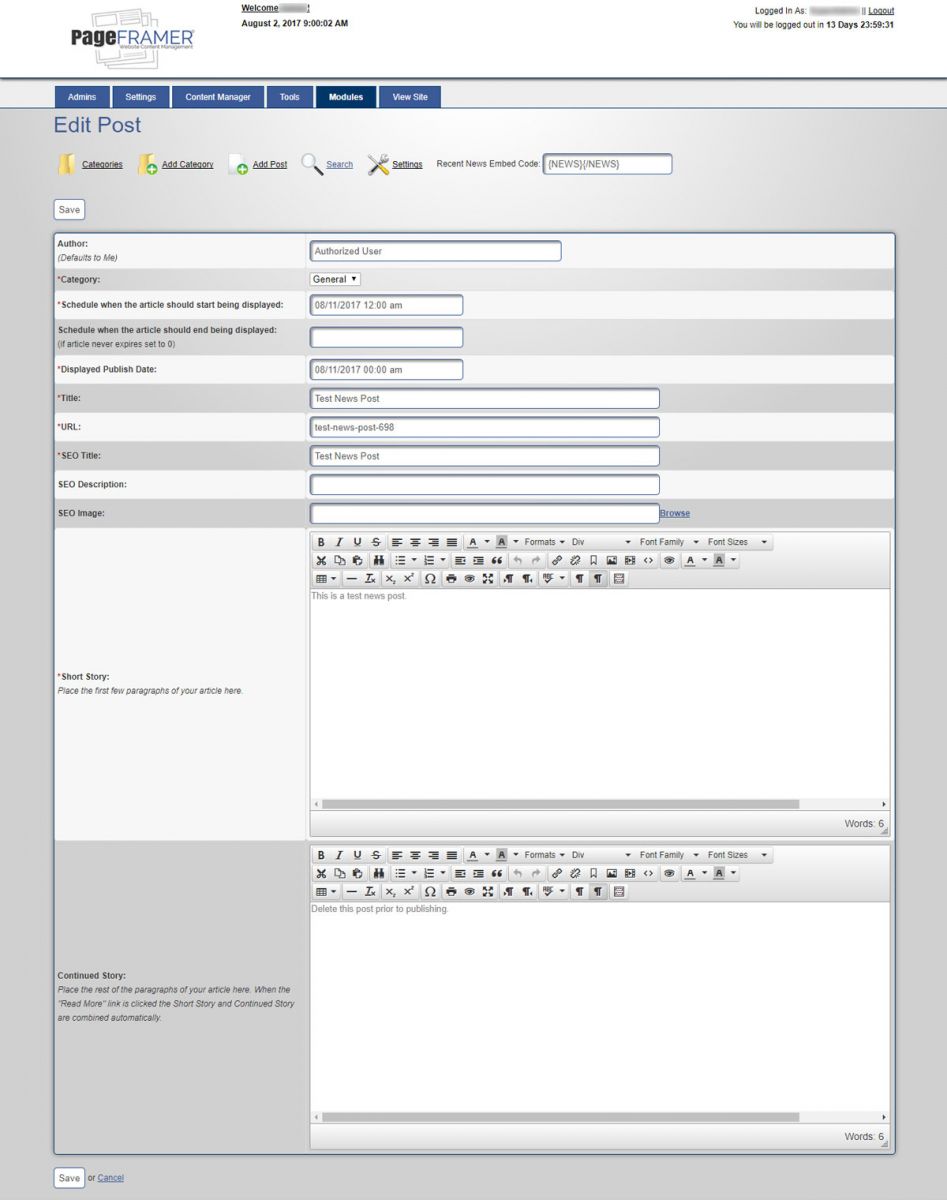 Figure 19
Once you have finished editing the news post, you can select the "Submit" button to save the post or select the "cancel" text link to cancel the edit.
Deleting a Post
To delete a news post, simply select the "Delete" icon to the right of the news post to be deleted on the "News > [Category Name ("General" as shown)]" screen (see Figure 20):
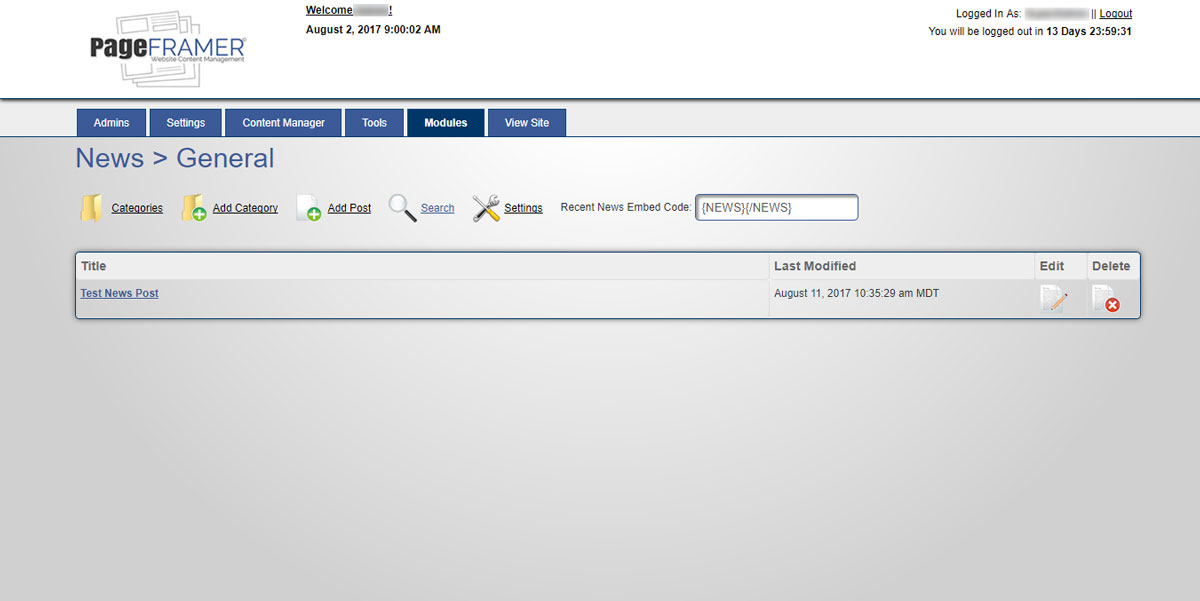
Figure 20
Once the "Delete" icon has been selected, you will be taken to a "Delete Post" confirmation screen (see Figure 21):
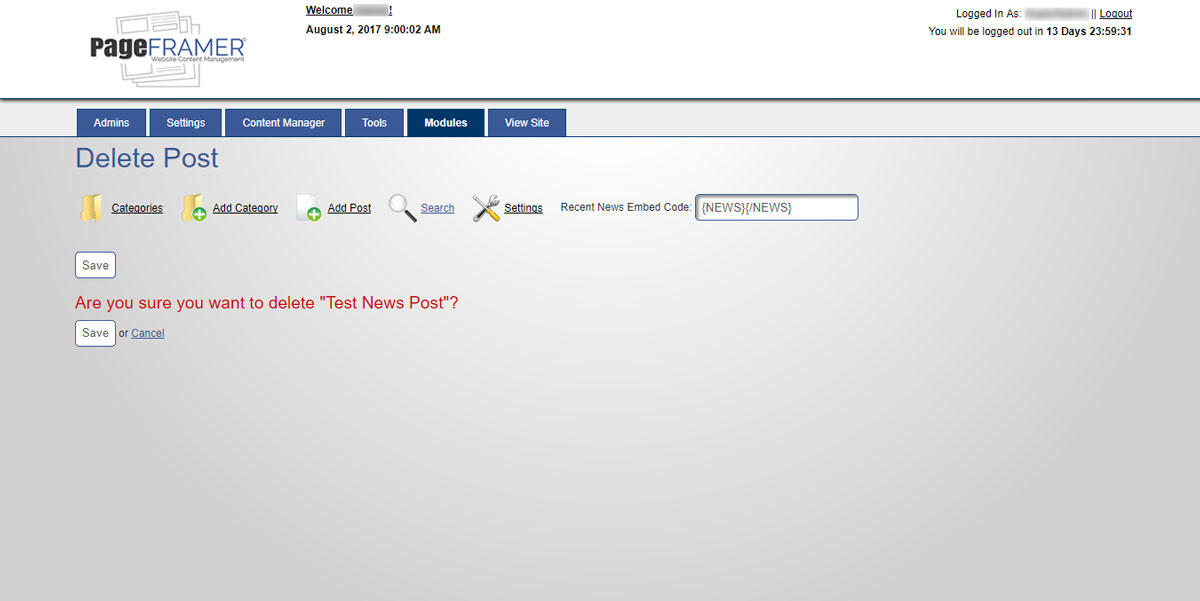
Figure 21
Once you have elected to delete the news post, you can choose the "Submit" button to delete the news post or select the "cancel" text link to cancel the submission. You will then see a confirmation screen indicating the news post has been deleted.
Embedding News
Embedding news into pages, and/or widgets is relatively easy. You need to go to the news category you want to embed and copy the news category's "Embed Code" (also known as "short-code") (see Figure 22). Simply select the "Embed Code" with your mouse and copy the code to embed elsewhere. The embed code makes it easy to place the gallery almost anywhere within your website.
You may also choose to embed all news articles using the "Recent News Embed Code". This is another short-code that includes all news articles, not just the articles in a single category.
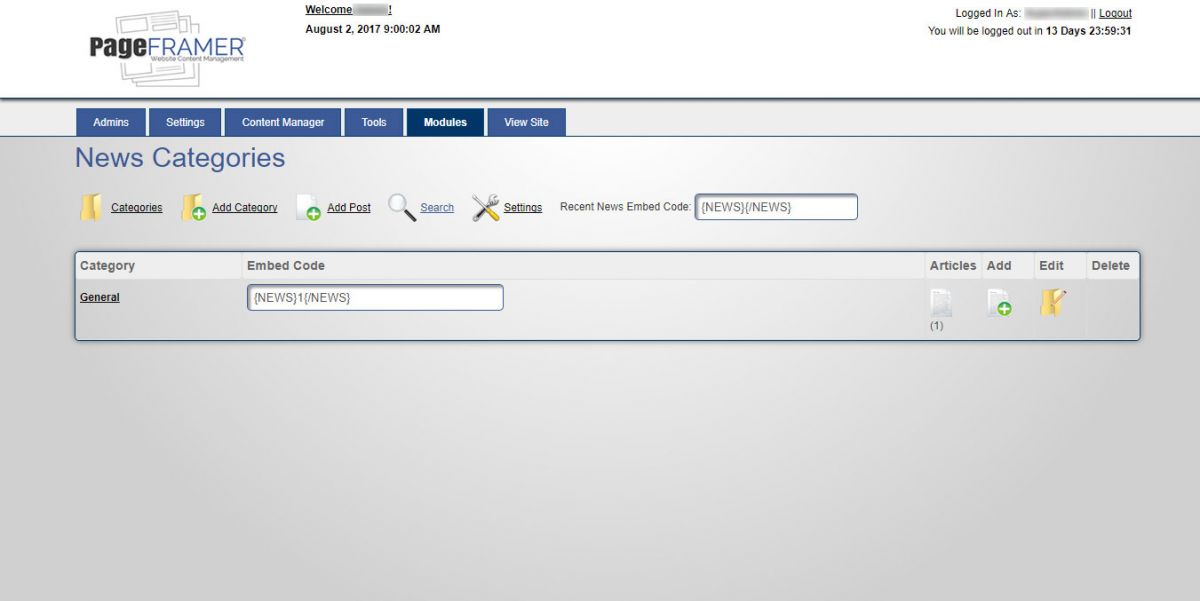 Figure 22
Note: If the News Module was not previously installed by a member of the Web Development Team, you may need assistance formatting the layout of the News Module to match the layout and design of other modules being used on your website. If you would like to add the News Module to your website, we strongly recommend contacting your Account Executive or a Web Developer.
Search
The "Search" function allows you to search for news article in the "News Module". You can navigate to the "Search News" screen (see Figure 23) by selecting the "Search" icon and/or text link.
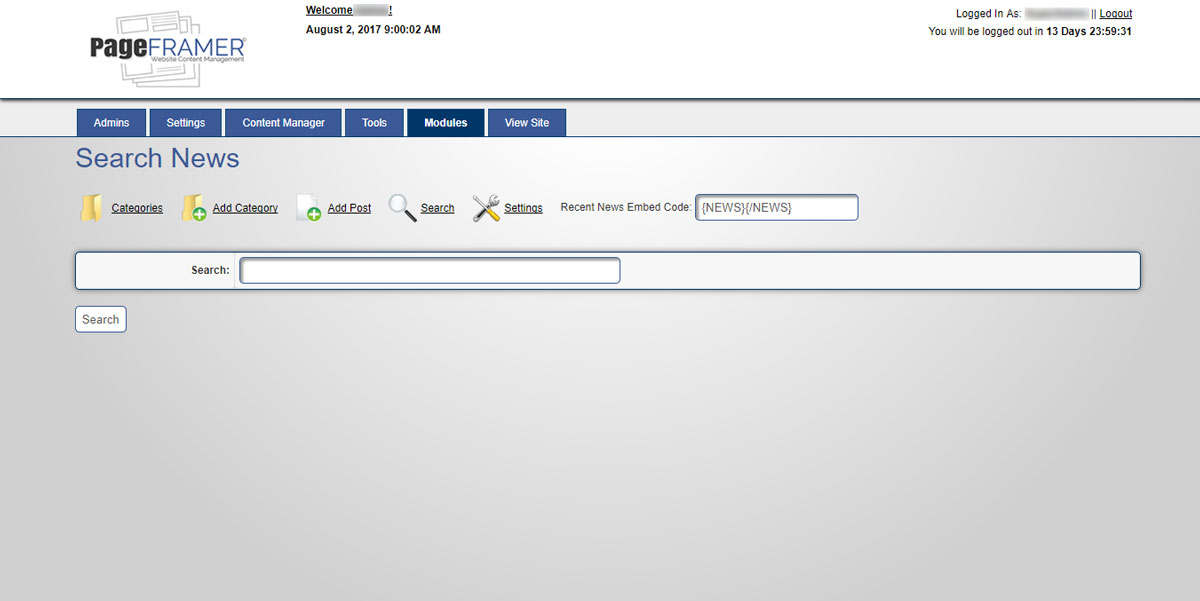 Figure 23
Note: This is a simple search function, so if you type more than one word in the "Search" field it will search for each word contained in an article. If you want to search for a specific string of words, you will need to enclose the term you are searching for within double-quotes.
Simply type a word or string of words you would like to search in the "Search" field and select the "Search" button to perform the search. Once you have performed the search, you will be directed to a "Search Results" list (see Figure 24) of all of the posts that contain the word or string of words you searched.
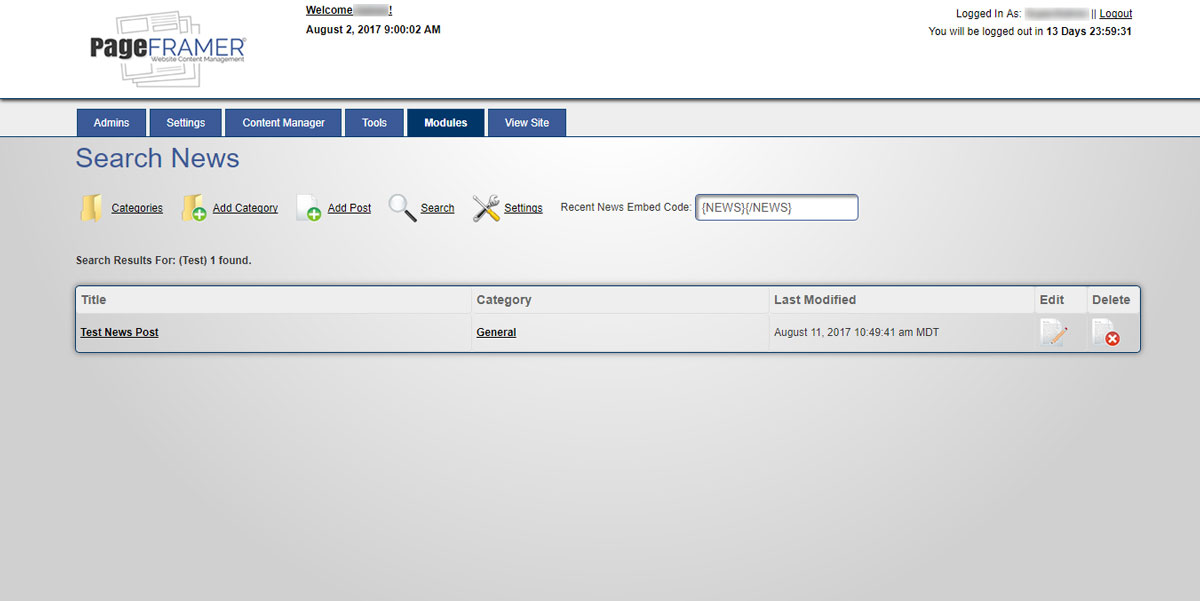 Figure 24
Settings
The "Settings" function allows you to set several parameters within the "News Module". You can navigate the "Settings" by selecting the "Settings" icon and/or text link, where you will be directed to the "News Settings" screen (see Figure 25):
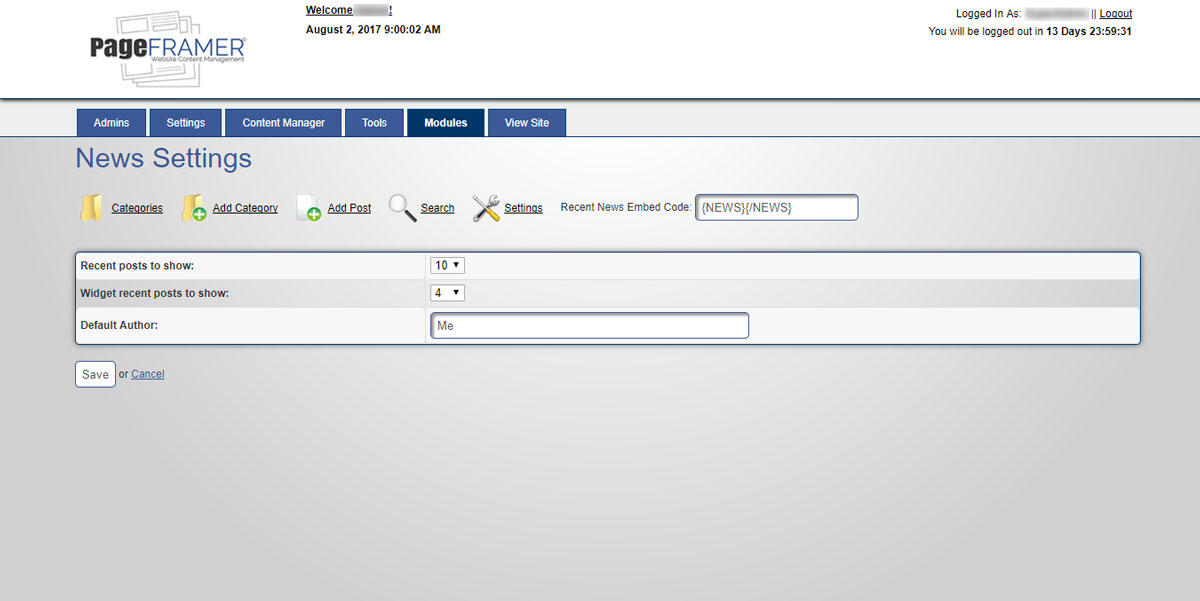 Figure 25
The "Recent posts to show" setting affects the number of posts displayed in a list. The "Widget recent posts to show" sets the number of posts that appear in a list inside of a "Widget". The "Default Author" will be the name of the author set as the default for every post. However, this can be changed while editing or adding a post as seen above.
